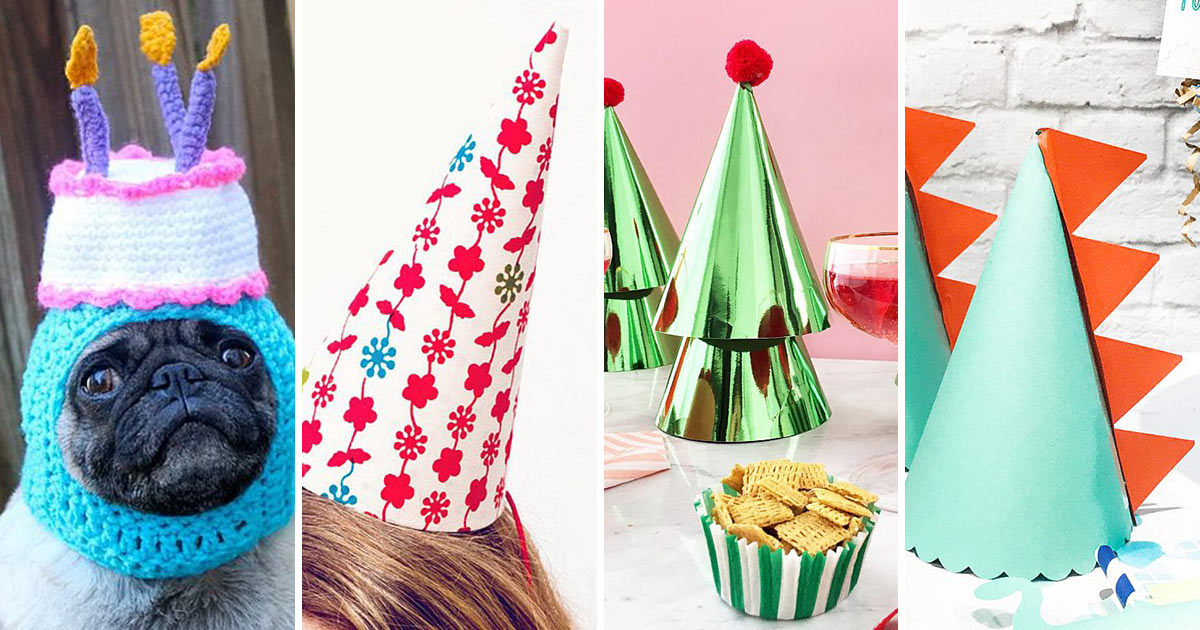
Undoubtedly, taking another trip around the sun is something worth rejoicing, and what’s better than welcoming new beginnings with some fun and exciting happy birthday accessories.
While celebrating your special day with your loved ones has always been joyous, getting in the crafting spirit by creating something fun and unique is one of the best ways to double the birthday fun this year. If you want to fully enjoy this once-a-year celebration and wish to celebrate in style, wearing some exclusive DIY birthday hats is surely a fabulous idea.
Contents
- 1 How to Make Party Hats
- 1.1 Cut A Large Circular Piece Out Of Construction Paper
- 1.2 Fold The Circle In Half And Cut A Small Triangle Out Of The Top
- 1.3 Open Up The Circle, Unfold It, And Tape Or Glue It To Form A Cone Shape
- 1.4 Decorate Your Cone With Colorful Streamers, Glitter, And Stickers
- 1.5 Write “Happy Birthday” On The Front In Colorful Lettering
- 1.6 Tape Or Glue A Small Piece Of Ribbon To The Top For Easy Hanging
- 2 Birthday Hat Ideas
How to Make Party Hats
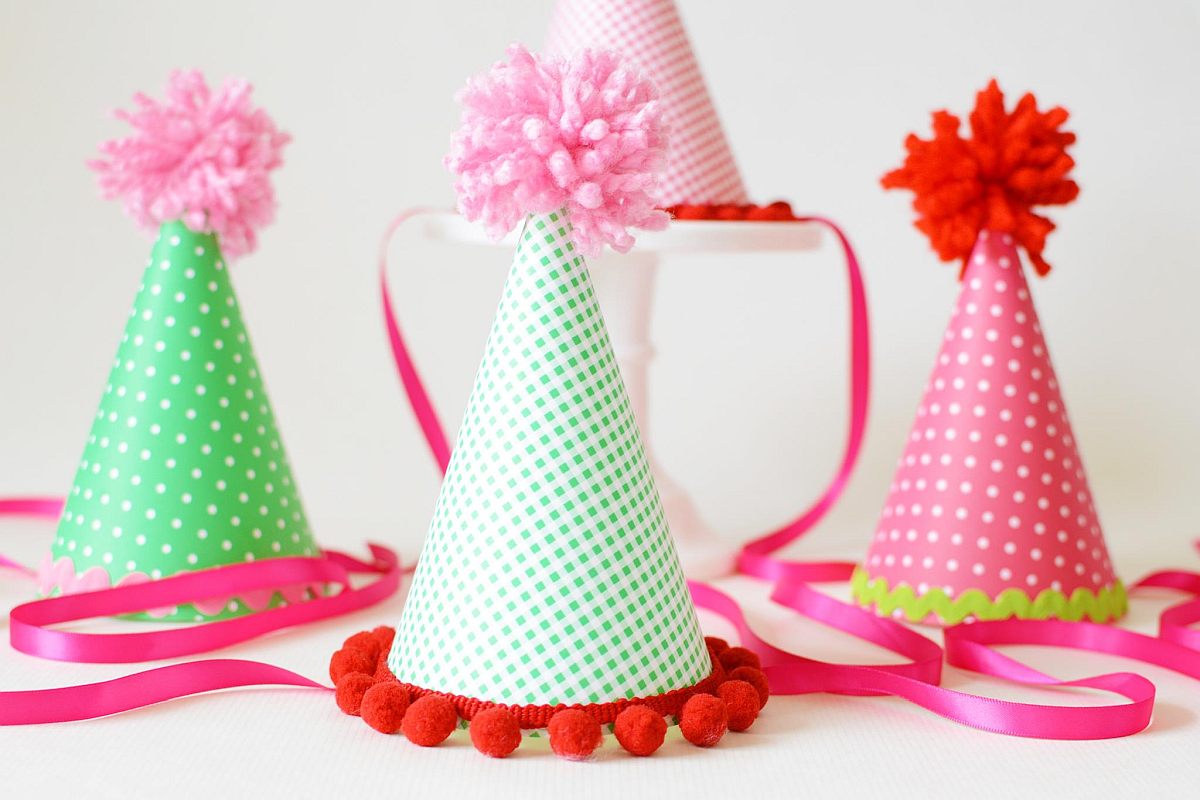
Not only will it make you look festive, but it will also show all of your friends and family that you went the extra mile to make your happy birthday hat. In this blog post, we will show you how to make a DIY birthday hat in just a few simple steps so keep reading to make your birthday super fun and get the celebration started the right foot.
Cut A Large Circular Piece Out Of Construction Paper
Construction paper is one of the most versatile materials when it comes to crafting so it’s no surprise that it will be the first step in creating your DIY birthday hat. Simply take a large sheet of construction paper and use scissors to cut out a large circular piece.
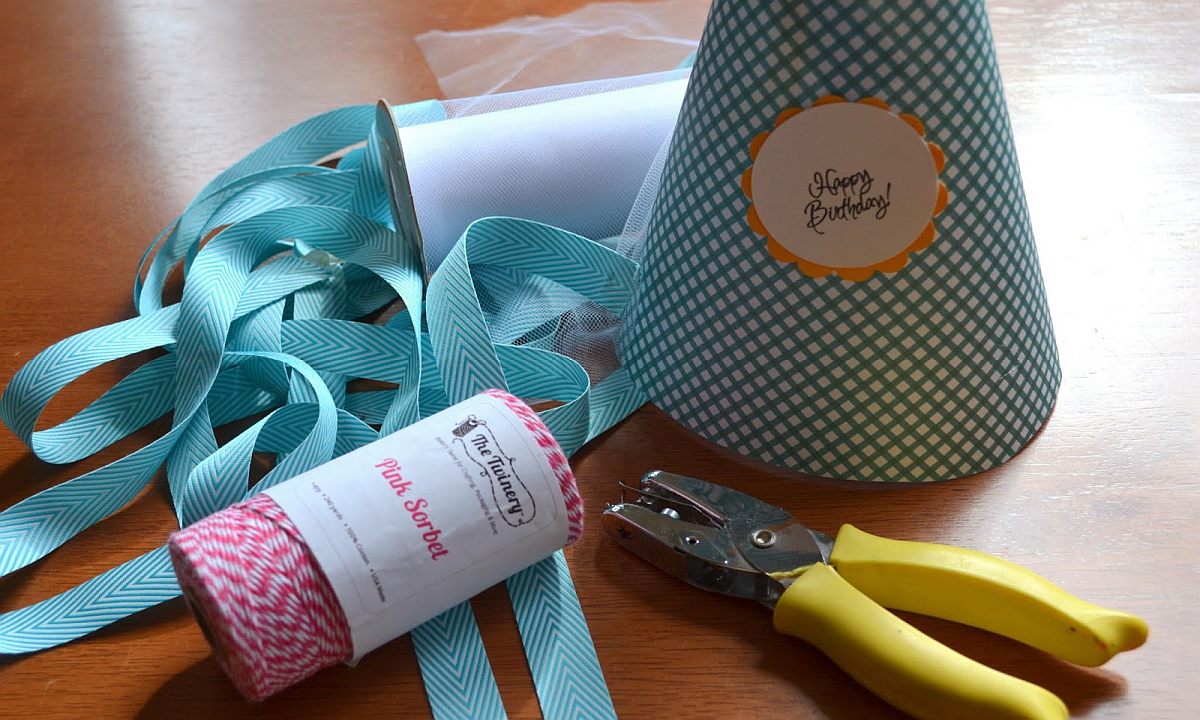
The size of the circle will depend on how big or small you want your hat to be so feel free to make adjustments as needed. Remember, you can always trim down the construction paper if it’s too big but you can’t make it bigger once it’s been cut so make sure to cut it carefully. Now that you have your large circular base, it’s time to start forming your hat so let’s move on to the next step.
Fold The Circle In Half And Cut A Small Triangle Out Of The Top
This next step is pretty self-explanatory- simply take your large circular base and fold it in half so that it forms a semi-circle. Once you have a semi-circle, use scissors to cut out a small triangle at the top of the paper.
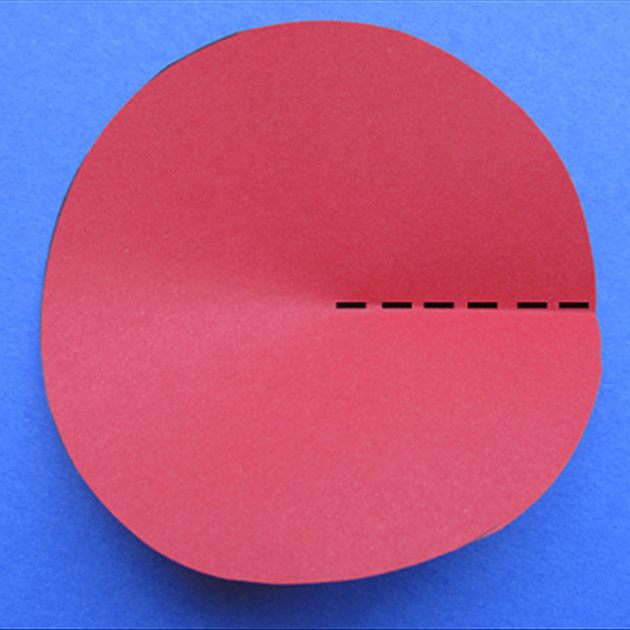
The triangle doesn’t have to be too big or too small, just make sure that the point of the triangle is facing downwards. And that’s it for this step! You now have the basic shape of your hat so let’s move on and start decorating it.
Open Up The Circle, Unfold It, And Tape Or Glue It To Form A Cone Shape
Now it’s time to give your hat some more shape so that it can finally start resembling the look of an actual birthday party hat. To do this, simply take the large circular piece of construction paper and open it back up so that it’s flat again.

Once it’s flat, begin folding each side inwards until you have achieved a shape similar to a cone. Once you have a cone shape, use decorative tape or glue to secure all of the sides in place.

And there you have it! The third and final step to creating your DIY birthday hat is complete
Decorate Your Cone With Colorful Streamers, Glitter, And Stickers
Now that you have your hat base, it’s time to start decorating to make it look perky and festive for your birthday celebration. One of the best things about making your hat is that you can let your creativity run wild and customize it according to your personal style and preferences.

To start, we recommend taking some colorful streamers and wrapping them around the bottom part of the cone. You can also play with some glitter or stickers to make your hat pop.
And there you have it- super fun and easy DIY birthday party hat that is sure to get you in the celebratory mood!
Write “Happy Birthday” On The Front In Colorful Lettering
Next comes the most important step which is of course writing “Happy Birthday” on the front of the hat in colorful lettering. This will serve as the perfect finishing touch to your fabulous birthday party hat and it will also let everyone know that it’s your special day.
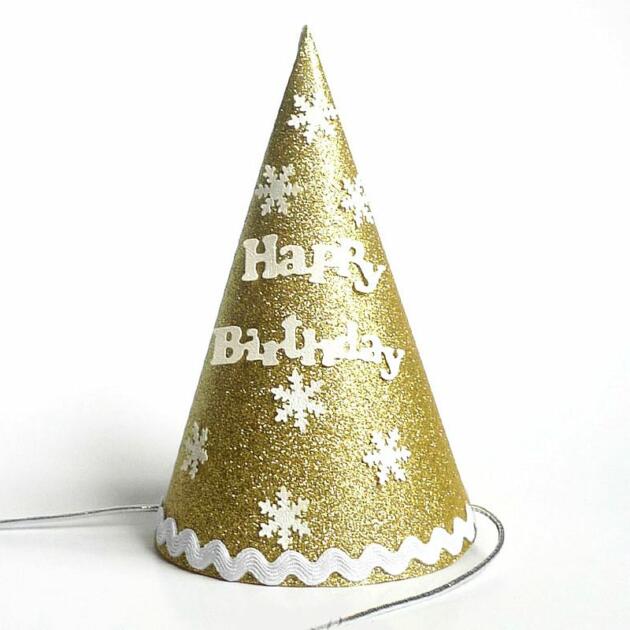
You can use markers, paint, or even glitter glue to write out the phrase “Happy Birthday”- it’s completely up to you! And with that, your DIY birthday party hat is almost complete.
Tape Or Glue A Small Piece Of Ribbon To The Top For Easy Hanging
Now that you have your hat completed, the last step is to add a small piece of ribbon or crafting wire to the top for easy hanging. This will help you hang your hat up when you’re not wearing it and it will also add a nice touch of decoration.
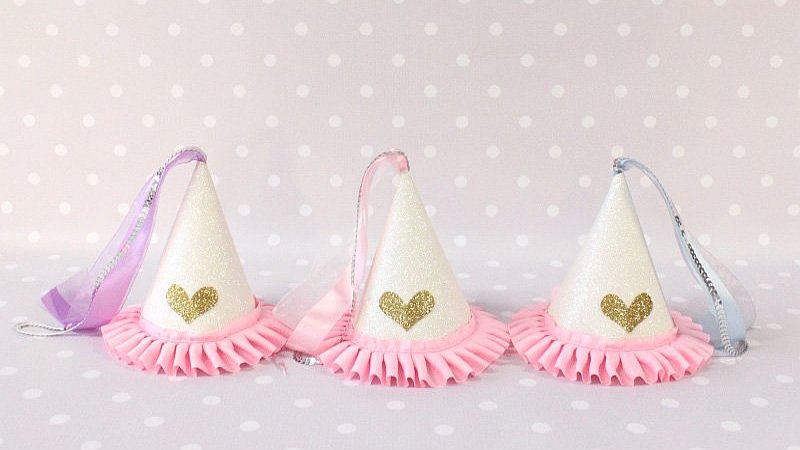
Simply take a small piece of ribbon in any color you like and use tape or glue to attach it to the top of your hat. And that’s it! Your birthday hat is now complete and ready to be worn with pride.
Birthday Hat Ideas
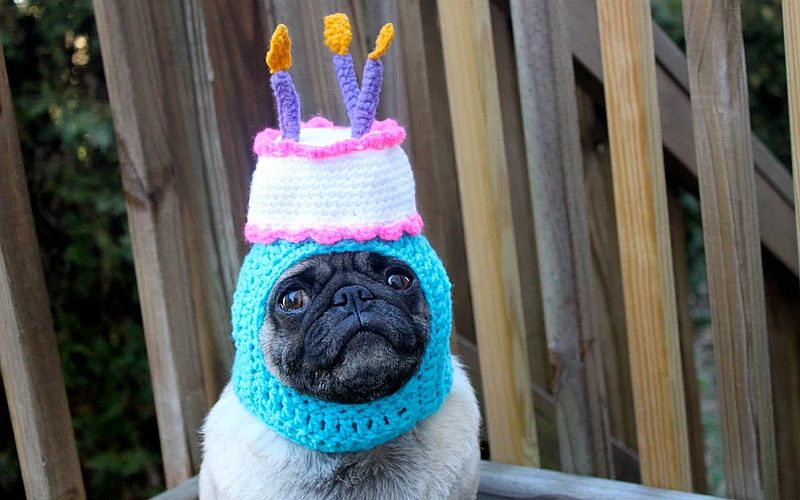
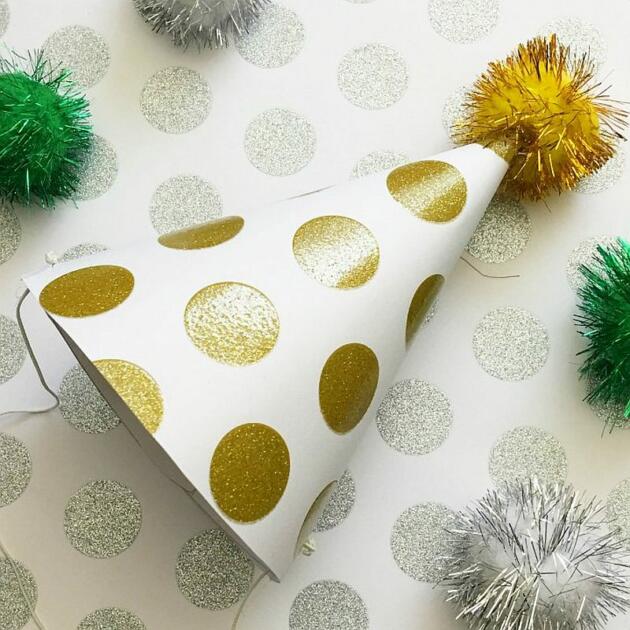
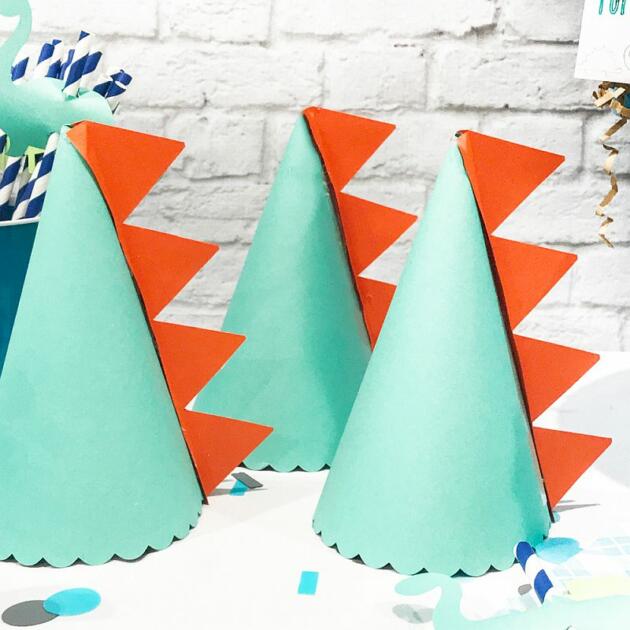
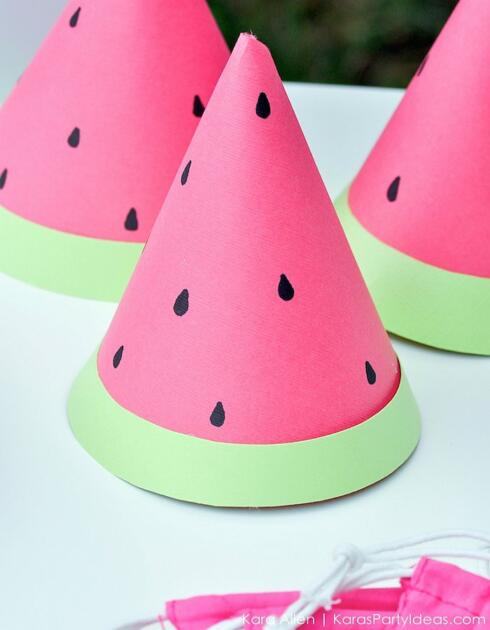
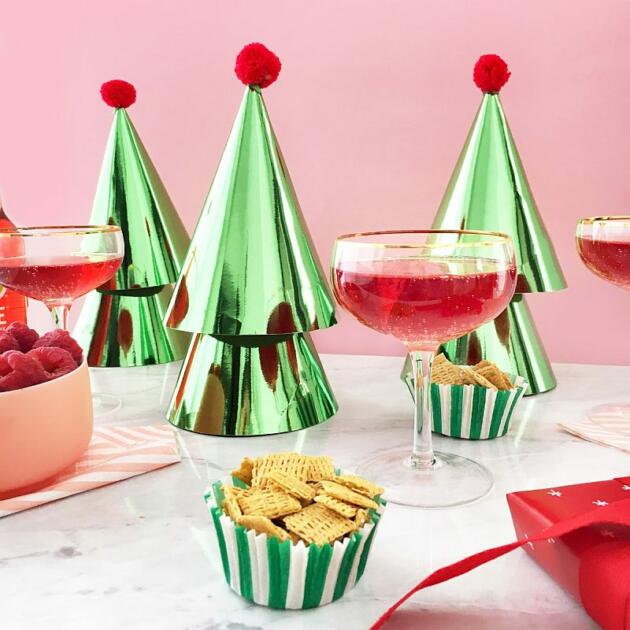
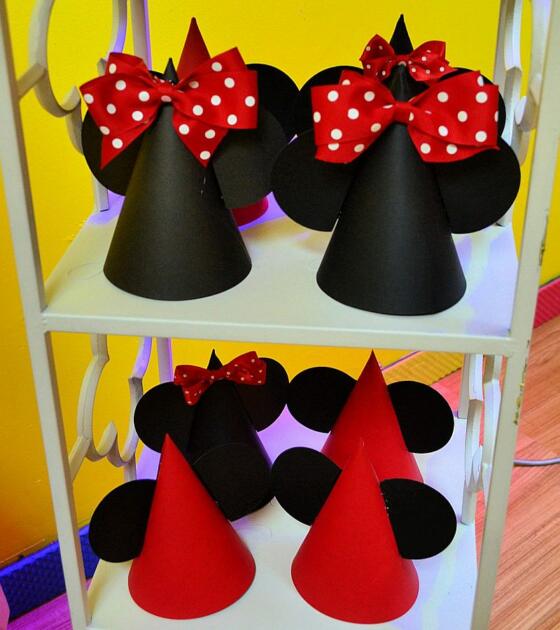
DIY Party Hat #Inspo!! These are the new trend! #partyhat #stylish #DIY pic.twitter.com/uAPAJwSuLN
— Party Affairs (@PartyAffairs_) September 21, 2016
Conclusion

Undeniably, a birthday party calls for some stunning birthday hats and we’re sure by now you must’ve already started gathering supplies to create your own ones. I hope you enjoyed following along with this blog post and that you found it helpful in creating your own DIY birthday party hat. If you have any tips or ideas on how to make birthday hats even more special, please share them in the comments section below. We would love to hear from you!
